
Ever notice how some presentations feel smooth and professional while others feel choppy and abrupt? The secret often lies in the slide transitions.
Transitions are the visual effects that happen when you move from one slide to the next—how slide 3 exits and slide 4 enters. Think of them as the bridge between your ideas. Used well, they guide your audience’s attention smoothly. Used poorly, they become a distraction.
Transition Quick Reference Guide
Before we dive into the step-by-step instructions, here’s a quick reference showing the most useful transitions in both PowerPoint and Keynote. This table will help you choose the right transition and find equivalent effects across both apps. There are more transitions, but these we believe are the more common ones.
| Transition Type | PowerPoint | Keynote | Best For |
|---|---|---|---|
| No Effect | None | None | Section breaks, fast-paced content |
| Smooth Fade | Fade | Dissolve | Business presentations, professional contexts |
| Directional Slide | Push | Move In | Sequential content, timelines, stories |
| Gradual Reveal | Wipe | Reveal | Building suspense, revealing data |
| Smart Animation | Morph | Magic Move | Product demos, showing transformations |
| 3D Flip | Flip | Flip | Visual interest, creative presentations |
| 3D Rotation | Cube | Cube | Section transitions, modern look |
| Instant Switch | Cut | None | Dramatic cuts, topic changes |
**Pro tip:** If you work with both PowerPoint and Keynote or if you are going to share your presentation with someone else, stick to transitions that exist in both apps (like Fade/Dissolve, Push/Move In, or Morph/Magic Move) to maintain consistency when switching between platforms.
Adding Transitions in PowerPoint
Step 1: Click on the slide where you want to add a transition. Remember: transitions apply to how a slide enters, not exits. So applying a fade to slide 3 means it fades in when you advance from slide 2.
Step 2: Click the “Transitions” tab in the ribbon at the top.
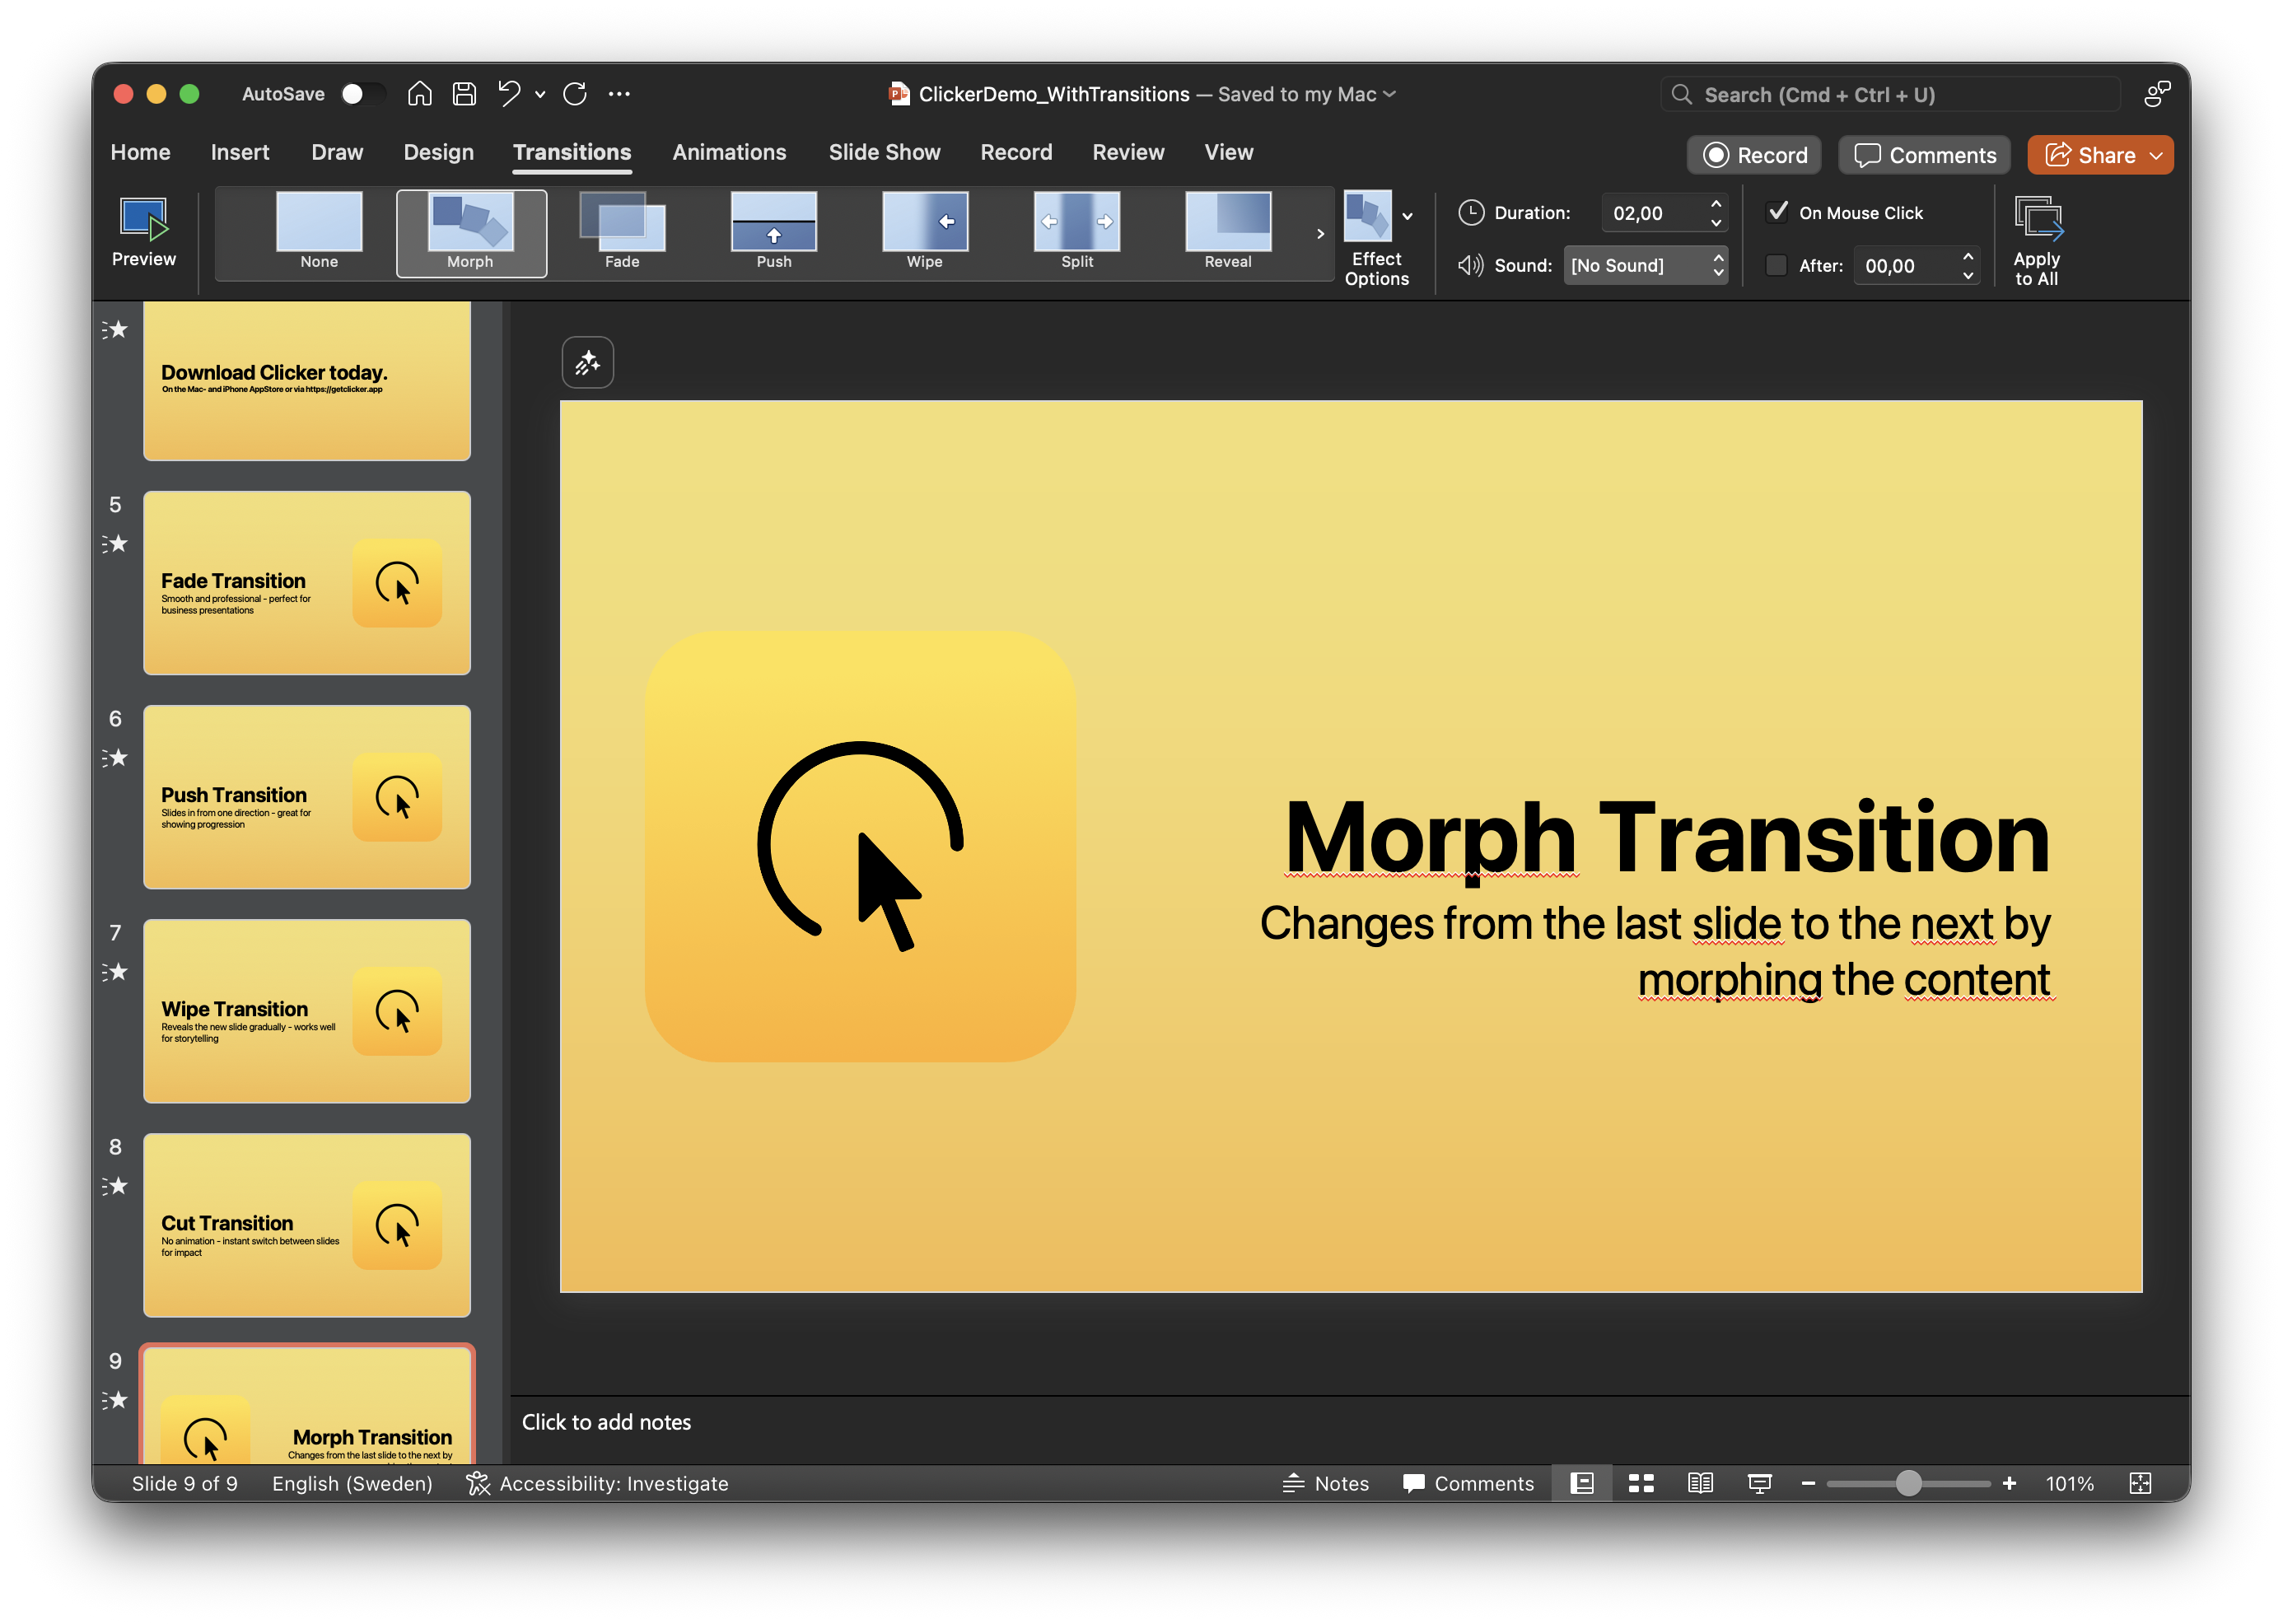
Step 3: Browse the transition gallery. Hover over any transition to preview it on your slide.
Step 4: Click to apply your chosen transition. A star icon appears next to the slide thumbnail—your visual confirmation it has a transition.
Step 5: Adjust the Duration (0.5-1.5 seconds works best for most presentations).
Step 6: Click “Apply To All” if you want the same transition throughout your deck.
Adding Transitions in Keynote
Step 1: Select your slide.
Step 2: Click the “Animate” button (star icon) in the toolbar.
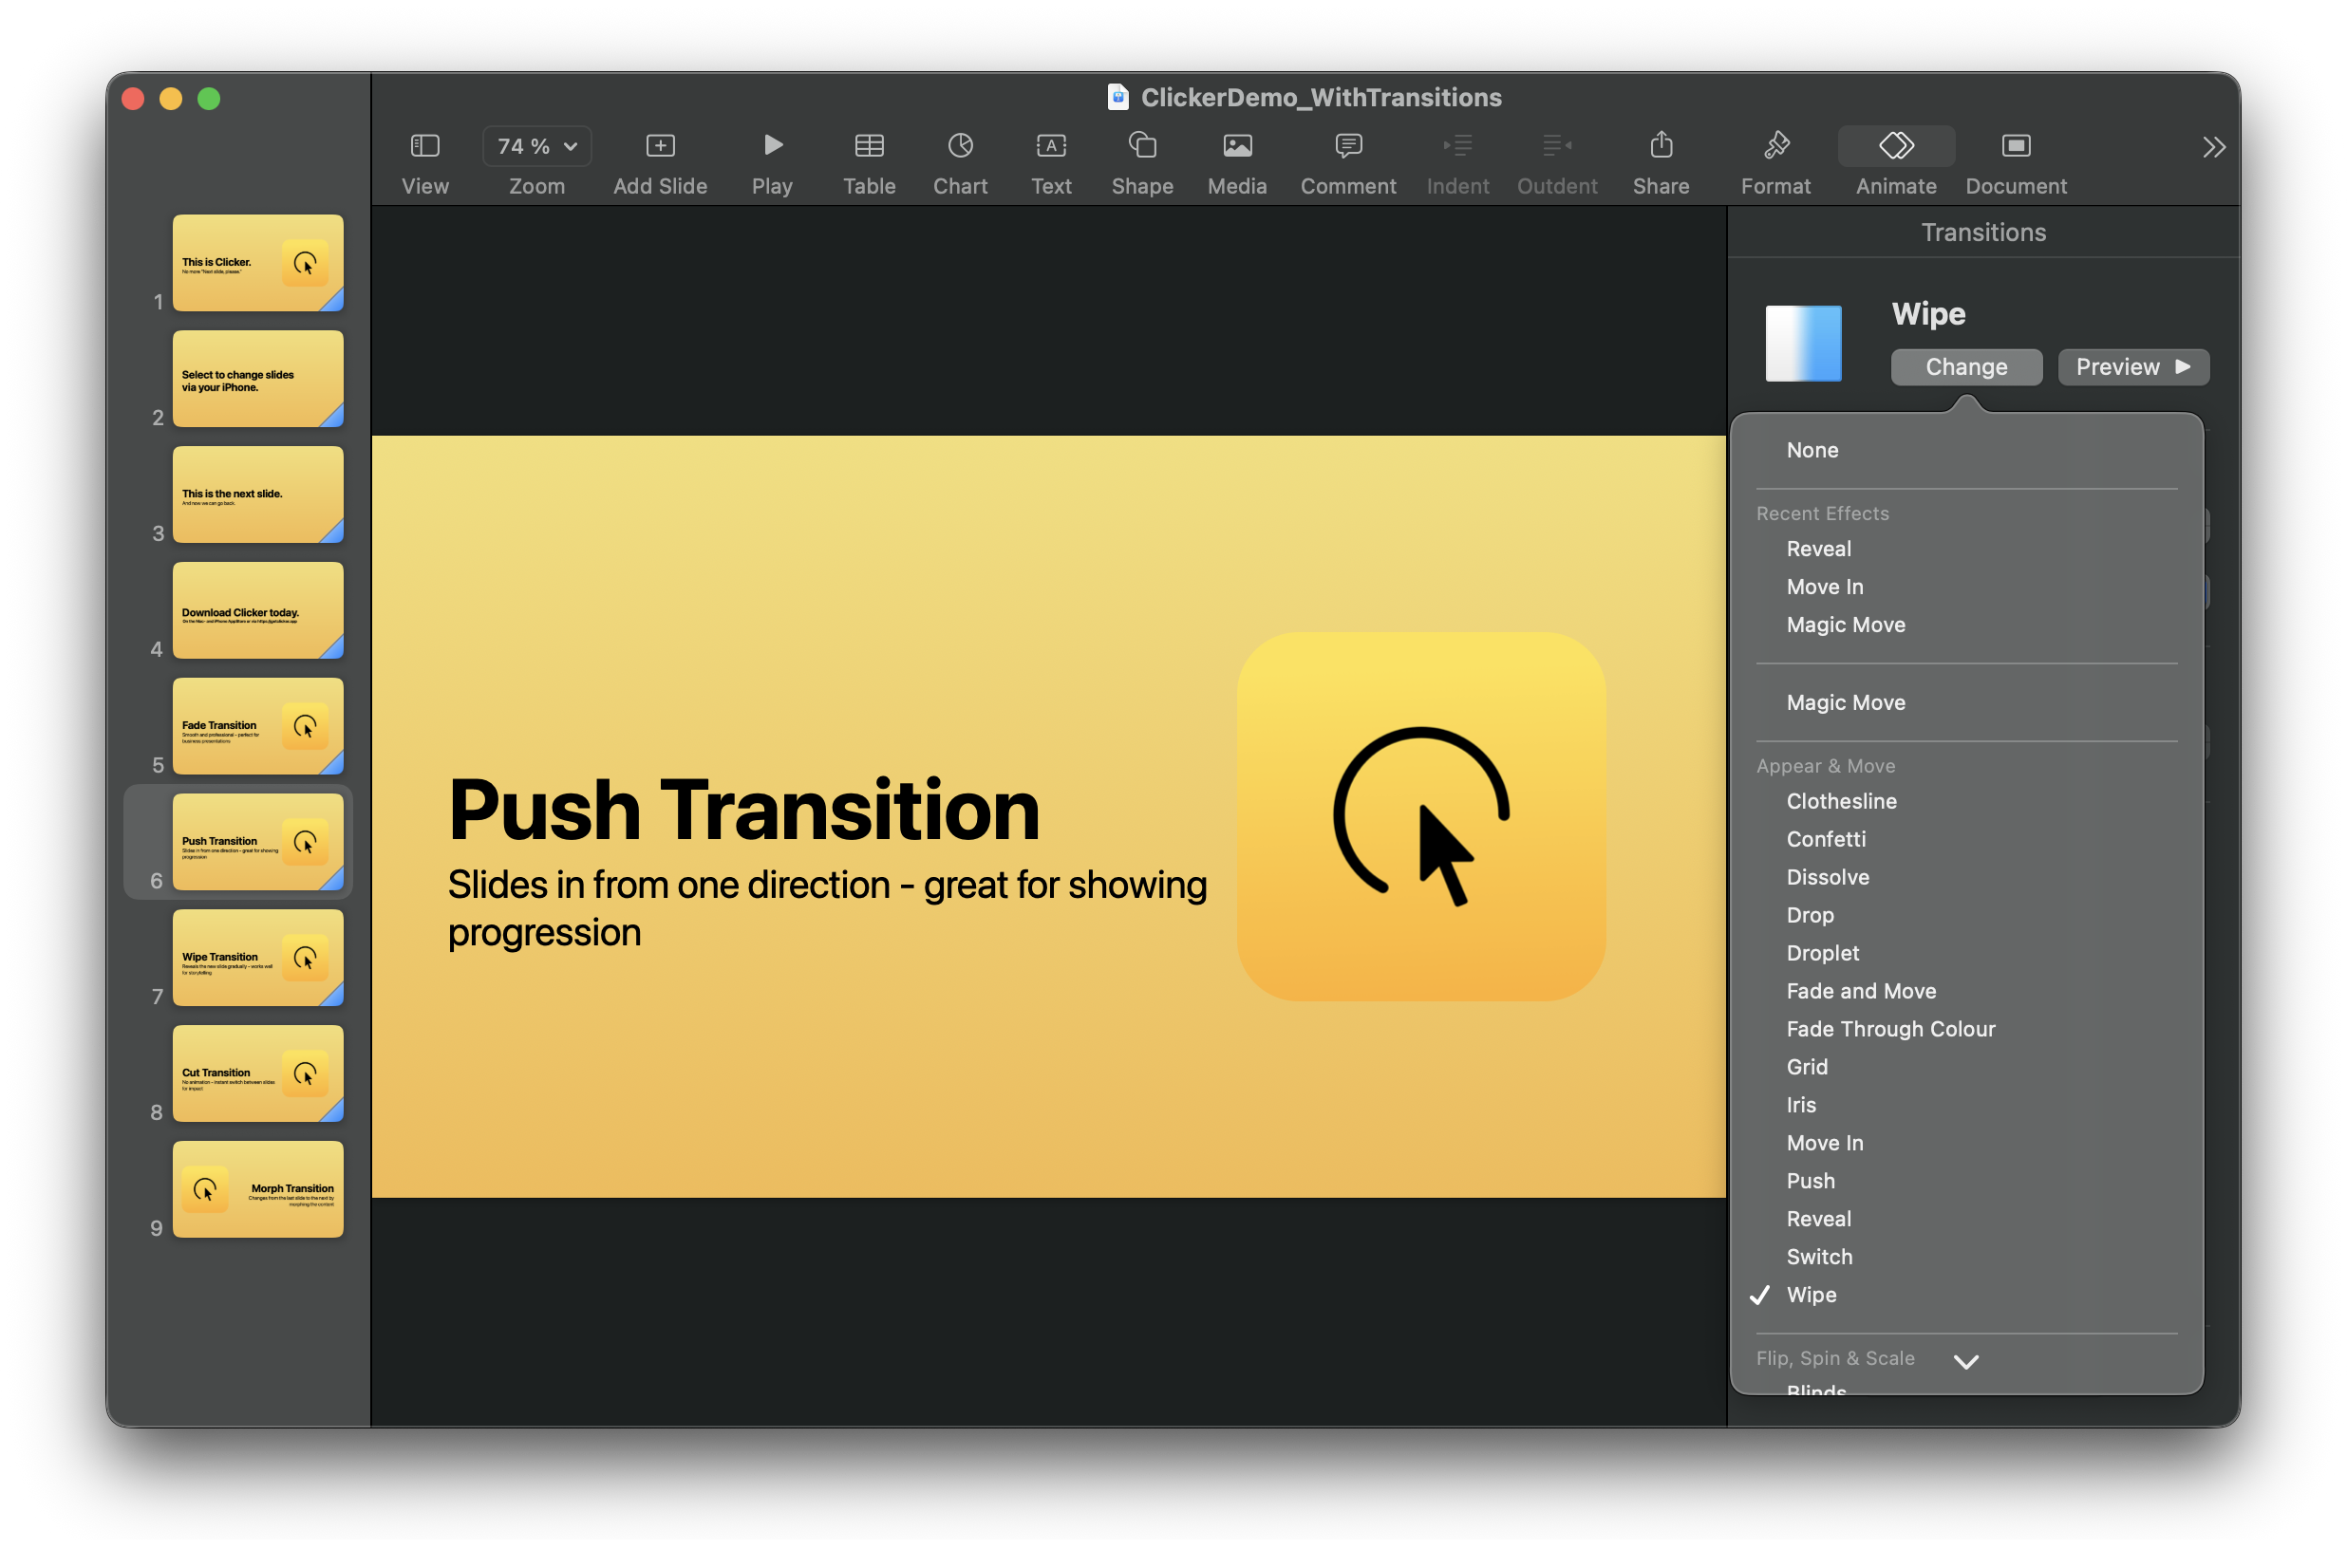
Step 3: Click “Add an Effect” under the Transition section.
Step 4: Choose your transition and adjust the duration.
Step 5: Repeat for other slides (Keynote applies transitions individually).
PowerPoint vs Keynote: Key Differences
PowerPoint lets you apply one transition to all slides instantly with the “Apply To All” button. It’s faster for consistency across large decks. PowerPoint’s strength is its Morph transition, which is incredibly powerful for object animation.
Keynote offers significantly more transition options; over 40 beautifully polished effects including extensive 3D transitions (Cube, Flip, Revolve, Doorway, Perspective) and creative options (Blur, Shimmer, Confetti, Clothesline). Each transition is rendered with smooth timing and elegant acceleration curves. You apply transitions slide-by-slide, which takes longer but encourages more intentional choices.
Best Practices
Use one transition throughout your presentation. Yes, both apps offer dozens of options. No, you shouldn’t use them all. Consistency looks professional and keeps focus on your content. Exception: You can use a second, more dramatic transition for major section breaks (2-3 times max).
Keep transitions quick. Set duration between 0.5-1.5 seconds. Under 0.5 seconds feels jarring. Over 1.5 seconds tests your audience’s patience. Your audience is there for your content, not to watch slides transition.
Keep it simple if you share your slides with someone else, e.g. for a meetup presentation, then it might be good to follow the table above on which transitions/animation are common between both apps. The reciever might not have the app you use.
Match transitions to your content:
- Fade/Dissolve for business presentations and serious topics
- Push/Move In for sequential processes and timelines
- Morph/Magic Move for product demos and transformations
- None for dramatic section breaks
Test before presenting. Run through your entire deck full-screen at presentation speed. Check that transitions feel natural and don’t make content hard to read.
Why Transitions Matter with Remote Control
Here’s something most guides don’t tell you: transitions become even more important when you’re not standing at the pedistal.
When you’re using Clicker to advance slides from your iPhone, transitions give you visual confirmation that your tap registered and the slide advanced. This matters especially when you’re:
- Walking around the room while presenting
- Facing your audience instead of the screen
- Presenting in large venues or rooms with multiple screens
Without transitions, especially if you’re not directly facing the screen, you might not immediately register that the slide changed. No more awkward backward glances or “Next slide, please” moments—just smooth, confident presenting from anywhere in the room.
Common Mistakes to Avoid
- Using too many different transitions - Pick one, maybe two for section breaks
- Too fast (under 0.5 seconds) - Feels jarring
- Too slow (over 1.5 seconds) - Tests patience
- Not testing beforehand - Always preview full-screen
- Dramatic effects on text-heavy slides - Use simple fades instead
Download Clicker to control your presentations wirelessly from your iPhone. Your carefully crafted transitions become even more valuable when you can present from anywhere in the room.
Questions about transitions or presentation tips? Reach out on Bluesky or email us